

Improving Soil Drainage with a Garden Elevation
My yard is mostly flat and heavy clay soil with high alkalinity. Sometimes it seems like nearly everything I want to plant requires good drainage which can be frustrating. So what can you do? I’ve listed some of the things I’ve done to overcome the problem below.
But even if you don’t need an elevation for soil drainage, it can be an easy and beautiful way to add a focal point to your landscape.
If you’re not sure about the drainage in your yard, it’s easy to do a drainage test.
Create Garden Elevations
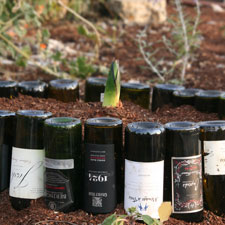
I’ve created elevations with broken concrete and wine bottles. I love repurposing and both can be gained for free!
I have found that many plants that need excellent or perfect drainage don’t need a really high elevation. With some plants, even just an extra 6″ or so of elevation can make the difference to keep the roots (and/or bulb, rhizomes, etc.) draining well enough to prevent rotting.
Broken Concrete
Sometimes you can get broken concrete through Craig’s List, asking building contractors or whenever you see concrete being broken for new construction. Don’t be shy – stop and ask if you can take it.
Couple downsides to broken concrete:
- It is quite heavy. If any of the concrete is too big, you can break it up with a sledgehammer. Caution: be sure to wear safety glasses whenever using a sledgehammer.
- Can be very uneven. Which can create complications if you want to stack higher than one level.
Wine Bottles

Just save ’em up until you have enough or ask friends and family to donate their bottles. Of course, any type of glass bottle can be used. Soda bottles are fine, but will create a shorter elevation.
To get started, dig a trench to place the bottles. The bottles should be buried at least 5.5″ deep for stability. Fill in soil on both sides of the bottles, then completely fill the elevation.
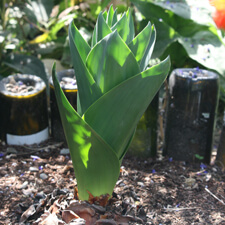
Giant Squill needs excellent drainage and no summer water (pictured). We created a small wine bottle elevation just for this enormous bulb which has really worked well for it.
Wall Blocks
Even easier for elevations: simply purchase retaining wall blocks from a big-box home improvement store or garden center. Upside: They are evenly shaped and make it easy to stack or cut to any height or width. Downside: cost is higher than repurposing broken concrete or bottles.
Building a Stacked Broken Concrete or Block Elevation
With elevations created with one layer of concrete or with wine bottles, I don’t do anything special for drainage. But for elevations with multiple stacks of broken concrete or blocks, it’s a mini retaining wall.
Step 1: Mark the area. Often I first arrange water hoses around the area to see what I like best. Then I mark it up with landscape spray paint.
Step 2: Dig a trench about 4-6 inches deep and tamp it down. Fill with a paver base, tamp down and level.
Step 3: Place the broken concrete or blocks. Use a level to keep it all straight.
Step 4: Place gravel directly behind the concrete/blocks for drainage.
Step 5: Fill with soil. I walk all over it to tamp down the soil and then water well before planting to maximize settling of the soil.
 Ceanothus ‘Ray Hartman’
We created a wide elevation with broken concrete on only two sides that face a path. On the back side, the elevation has a natural downward slope. I did this for my Ceanothus Ray Hartman which is big (growing to 20′ x 20′) and needs excellent drainage that my clay soil cannot provide.
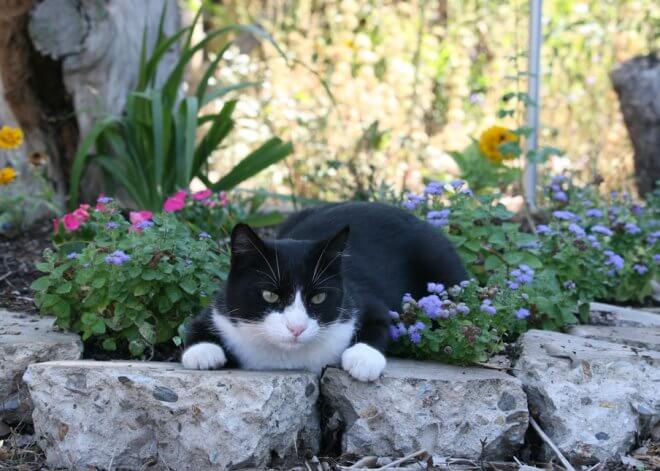
Caution – Elevations around trees: The roots of many trees cannot tolerate a change in elevation. Adding soil can smother the roots. Also, some tree roots will simply grow up into the elevation which can make it difficult for digging into the elevation later when planting. This has happened with the bed picture above with our cat – the roots of the adjacent Cottonwood trees quickly filled up the elevation. When we added irrigation to to the elevation, it was tough digging through the roots.


