


Dividing Bearded Irises
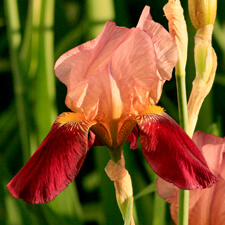
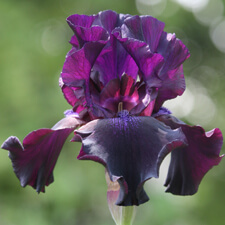
Irises are a very low-maintenance flower, but they need a little attention when they get crowded to keep them blooming. You just need to divide them, which is super easy. You’ll then have exponentially more rhizomes for your garden, or better yet, to share with friends and family. All of the irises in my yard have come from my parents’ and friends’ gardens.
When to Divide Irises?
When they get crowded. But it can depend on growing conditions as to how often it’s necessary – it can be any time between two to five years. In my yard, I typically do it every three years or so. But I can see that irises in the most ideal conditions get crowded more quickly and could benefit from division every two years. However, whenever you see a decline in blooming, it’s time to divide the irises. See photo instructions below.
What Time of Year to Divide Irises?
They can be divided any time after flowering but depends on your zone. In colder zones, gardeners often divide in mid to late summer so they can get established before the first hard freeze (about 4-6 weeks). In warmer zones like mine (9b), I’ve been successful doing it any time in the fall. If I divide too early while it’s really hot (temperatures that are 100F+), it’s stressful for the irises, so for me waiting for September is ideal. But I’ve done it throughout the fall.
Some Tips Before You Get Started
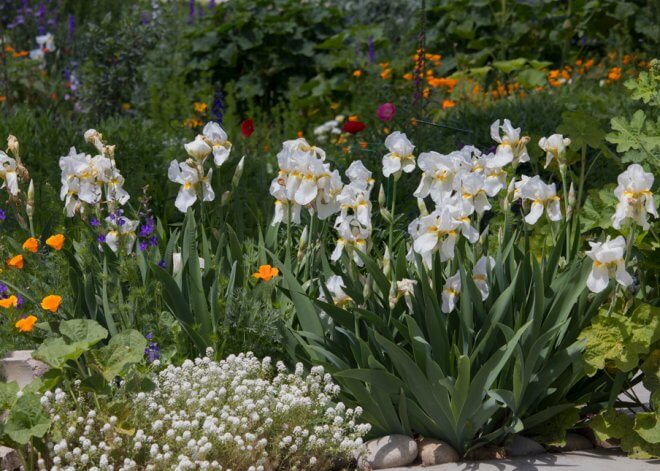
If you’re selecting a new location for your divided rhizomes, irises like full sun and soil that drains. They will grow in shade, but aren’t likely to blossom.
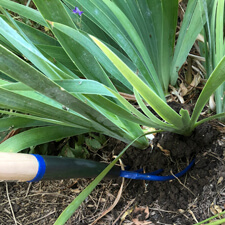
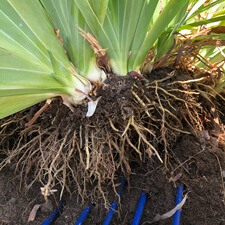
It’s easier to lift rhizomes out of moist soil, so if the bed is dry, be sure to thoroughly water the area a day or several hours in advance.
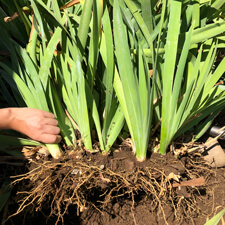
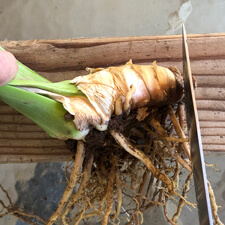
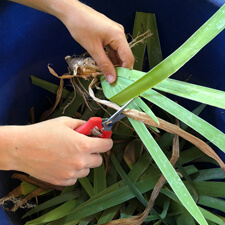
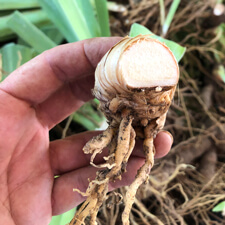
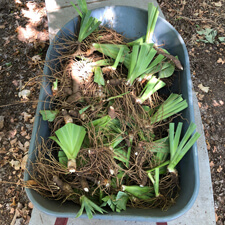
I find that it’s easiest to snap apart the rhizomes as I’m lifting the clumps and toss them in the wheelbarrow. Then at my table, I’ll do a clean cut on each rhizome using a clean, sharp knife.
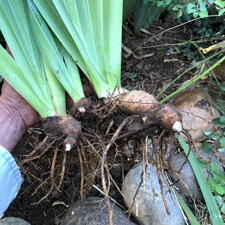
Be sure to inspect the rhizomes and discard any that are rotting. However, if they have just a little softness, I just cut off the problem area if the rest of the rhizome appears to be healthy. You can discard any old rhizomes that do not have a leaf fan.
Also look for any signs of the iris borer. Dark streaks on the leaves are typically signs that the female borer moth laid eggs on the leaves and then its caterpillar tunneling creates the streaks as it tunnels down to the rhizomes. If you find any borers, remove and kill, then cut off damaged areas. Be sure to disinfect your tools before using on any other rhizomes.
Some gardeners will soak irises in a 10% bleach solution or treat them with a fungicide before planting. However, my irises haven’t had any substantial problems with fungus/rot, so I don’t treat my rhizomes in any way before planting.
The rhizomes need to cure for at least a couple of hours before planting. I usually let them set over night in a basket and plant the next day. I’ve had success with storing them for a month or more in my garage, but ideally they are planted soon after division.
Planting Irises
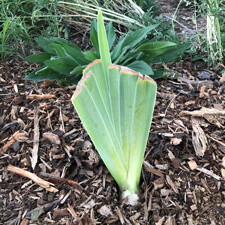
Irises like to be just below the soil surface. Dig a shallow, wide hole, then create a little mound over which you can spread the rhizome roots. Then cover with no more than 1-2″ of soil. In my zone (9b), the soil doesn’t freeze, so 1 inch of soil is adequate. Some gardeners in colder zones may opt for up to 2 inches of soil.
Consider spacing of the rhizomes: the more tightly they are planted, the sooner they will need to be divided. Some gardeners plants about 12-18″ apart or even as little as 4-6″ inches. I usually do about 6-8″ apart depending on the size of the rhizome.
Plant the irises with the rhizomes all pointing in the same direction. On slopes, plant rhizomes with growing end facing uphill. To make it easy to remember, I plant all of mine with the rhizome pointing south.
After planting, be sure to water the area well and it keep moist. But don’t be tempted to over water as that can lead to rotting.
I don’t fertilize irises when planting – that can lead to too much foliage growth. Instead in the spring when growth is starting, a low-nitrogen fertilizer can be applied. However, I’ve found that my irises do best in beds that have been sheet mulched which provides a lot of nutrition without over fertilizing.
Should You Mulch?
When I divided mine, the weather was still really hot, so I mulched mine to keep them from being overly stressed. In colder zones, some gardeners choose to mulch for the opposite reason – to keep the rhizomes from freezing.
Supplies
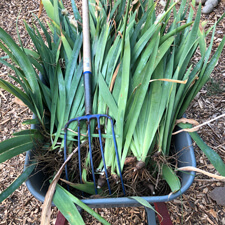
- Pitchfork is ideal but shovel can be used
- Clean, sharp knife or shears
- Trowel or shovel
- Bucket or wheelbarrow
Photo Instructions


Irises are a favorite flower of mine. I live here in Washington state and have many different Iris plant’s in my yard. Both Bearded Iris and Dutch Iris. I’ve just started planting some reblooming Iris in my yard. I enjoyed reading this Post on dividing my Iris plant’s, which I’ve been doing lately in my yard.
Thanks for all the tips here.
Irises are among my favorites too!